As a stay at home mom, I find thrifty one of the most important things to be! Hopefully through my posts and tutorials, you will be able to craft some heart-felt gifts that your wallet WON'T feel!

You will notice that many of my projects are related to paper crafting...it's my most favorite thing to do. I also enjoy some simple sewing from time to time and I enjoy "food crafting" as well...mostly cakes. Then there will be the occasional kiddie craft because we do those from time to time as well.

Monday, November 7, 2011

Long time no see...and my primitive Christmas tree ornaments!

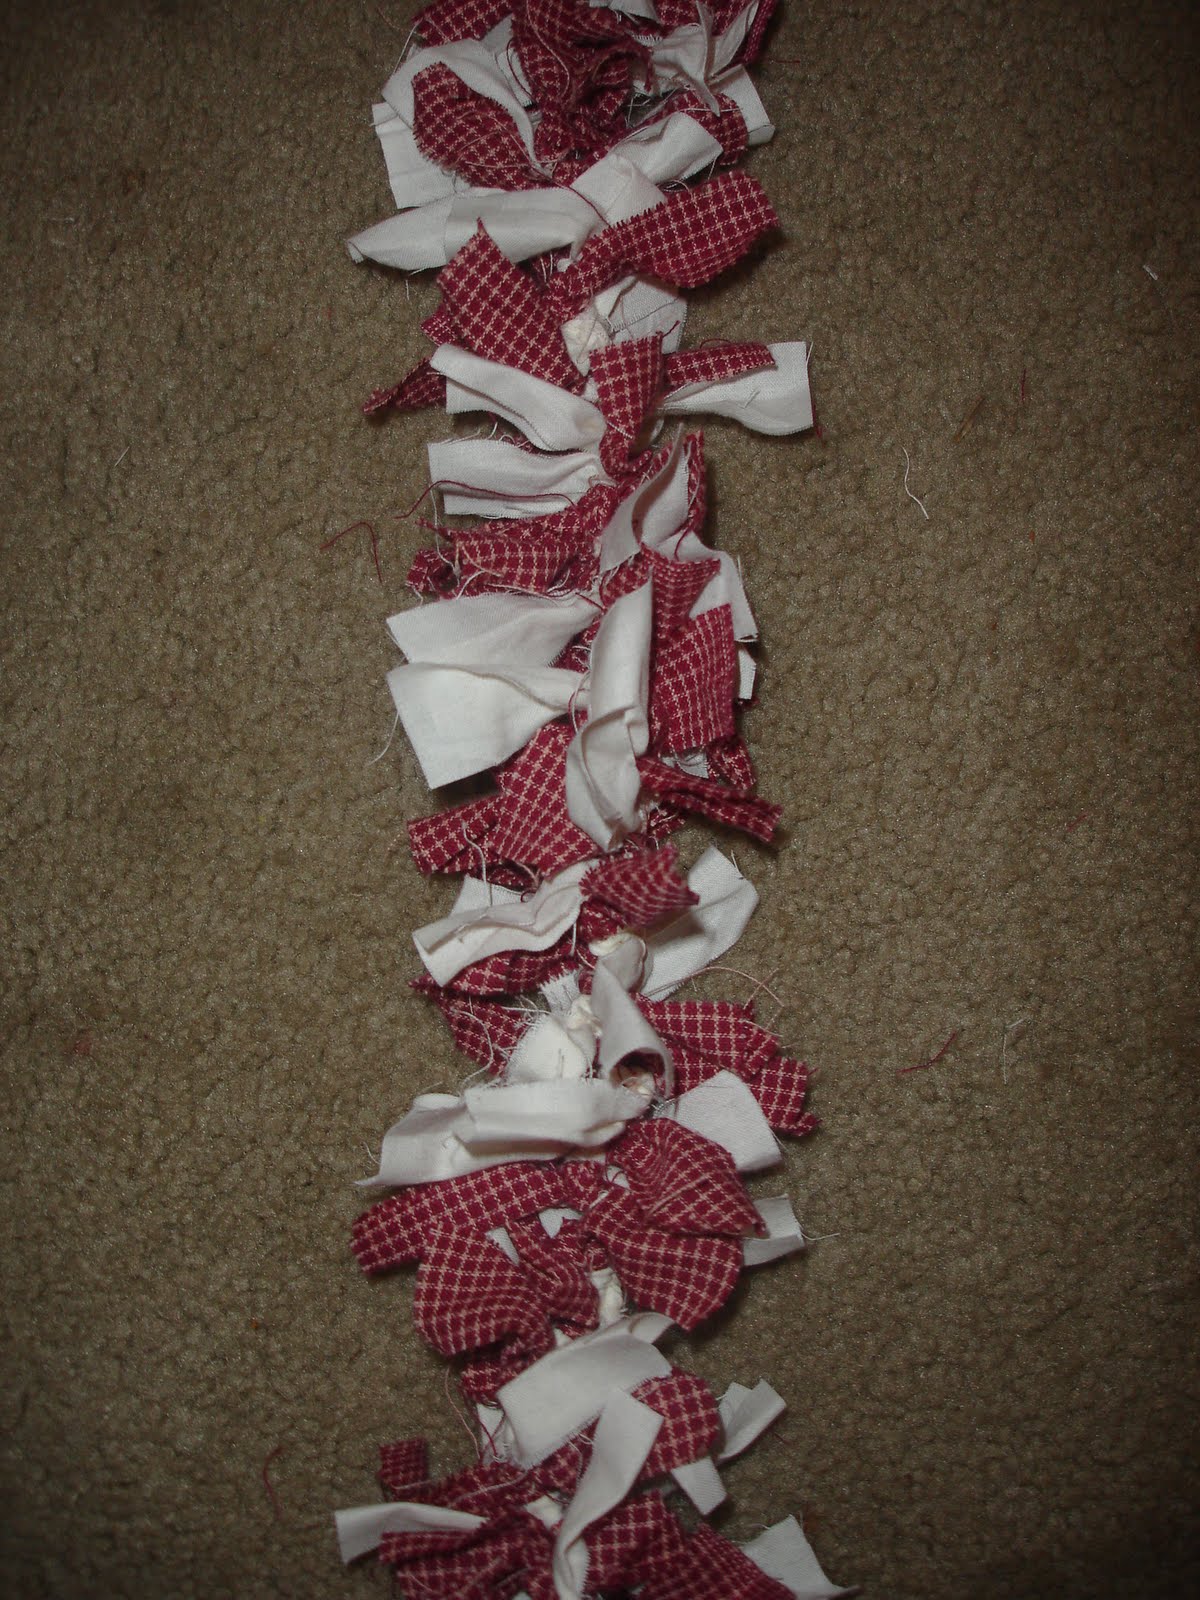
Wow...I really stink at this blogging thing! Crazy me, I even forgot about my blog until I was online at Mommysavers and realized...it's in my signature line! I seriously need to get back to crafting more. I DID recently complete some primitive Christmas tree ornaments for my tree and a 6 ft. length of rag garland. Now to just complete about 18 more feet! But here are some of my creations for my tree this year. I was hoping to get them done and sell some at a craft fair as well, but with my wonderful four hour Saturday mornings at the bank, I have managed to miss every single event...how is it I'm always scheduled when there's an event!? *sigh* But I do love my new job...looking forward to finishing up my 90 day "trial" period on the 15th!!


BTW...my favorite ornaments are the clothespin snowmen in the far left photo in the bottom row. They were fun, easy and super cute! Now I just hope they'll clip to my tree branches...we shall see!

Thursday, February 10, 2011

And the winner is......

I just wanted to say thanks to the participants who stopped by my blog and helped to make the Blog Hop a success! Thanks so much for participating and raising money for the cure of diabetes. I still pray that there will one day be a cure.
So....on to the "winner". We're all winners in this particular race, but when I chose a random name out of a hat for the three participants for my challenge, the name selected was...................................Delia Vieira-Cruz!!! I will post her project first followed by the projects of the other two participants. Again, thanks to all of you for visiting and/or participating, though. It really does make a difference!!

My next participant chose to do a Spring layout. Thank you, Natalie Methner!!And last, but never least, another thanks goes out to Pam Larmore for her Spring card!!Once again, thanks to all of the participants and visitors!! Delia, I have your information and will get your prize out as soon as some of our BRAND NEW SNOW melts off and we can safely get out of the house! LOL


Thursday, January 27, 2011

Let's Crop Out Diabetes!!!

Welcome to my blog! I hope you're enjoying hopping around the web and checking out all of the challenges! I'll show you the prize up front...it's a Martha Stewart clear stamp set. The set includes four birds and has a retail value of approximately $10. You never know what else I might toss in to go with it, either!


So...I don't know about the rest of you, but I am SICK, SICK, SICK of snow!! Living in Kentucky, we don't normally get much snow, but God has seen fit to send us more than our share this winter. So here's my challenge to you. Create either a card or a scrapbook layout celebrating spring!! Once you've created your work of heart, please e-mail it to me at thecozycraftcloset@yahoo.com ... I will post a pic of EVERYONE's work and then I will put everyone's name in a hat that participates and draw a name out. I will then contact you via e-mail to gather your information so I can get your prize out to you.

Have fun cropping and don't forget the REAL reason we're doing this. Someday, there CAN be a cure!

Tuesday, January 4, 2011

Ack!! I'm so far behind....

Well...who knew that working retail during the holiday season could be so terribly insane??? One thing is for sure...now I do! LOL Other than working so many hours, it wasn't so bad, though. I enjoyed it and will now be a permanent employee of JCPenney. I like it there and am glad to have interaction with the outside world other than doctors and therapists and such when the kids have appointments.

I was going to try and post a short and easy tutorial today but guess what? Somewhere over the holidays, we have totally misplaced the digital camera. Granted, hubby and I both were working 40 hours a week, trying to finish Christmas shopping, dealing with a couple of issues with the kids and helping keep my sister's and brother in law's little ones while he was in critical condition in the hospital. So there really is no telling where the silly camera is at. I do know it was last spotted on Christmas Day. Hopefully we can find it soon. I don't know if I can get the camera on my phone to work properly or not, but if I can, I may just post that tutorial in the next day or two.

I hope everyone had a great holiday season and that your new year is filled with happiness and blessings from above!!

Friday, October 29, 2010

'Tis the Season....

Yes...it is. It's time to start thinking about your Christmas cards if you intend to make them!! I found this link at Scrapbooks, etc. with 30 different cards...you're sure to find one you like! Some are quite traditional, some are not. Some are quite simple, some are a little more complicated. So there is something for everybody in this collection of cards!

Quick & Easy Christmas Cards

Saturday, October 23, 2010

Think PINK -- and win a prize!!!


So I promised a PINK challenge for Breast Cancer Awareness month...and that's what you'll get. I intended to get it on here earlier, but well...life happened. So here is your prize...it's a 40 pc. box of chipboard (black and white and glittery), a set of four PINK chalks and a cool PINK maribou Breast Cancer Awareness pen!

Now here's what I want you to do. I want you to create a card or scrapbook page that depicts HOPE in PINK. It can be any layout or design you choose. Then I want you to e-mail a photo of your work to me at TheCozyCraftCloset@yahoo.com along with your name so I know who I'm getting the photo from! Have all entries to me by midnight on October 30th...that gives everyone an entire week to get their creative juices flowing and get their work of heart in to me. From there, I will put your name in the drawing for the prize...your work won't be judged on skill or creativity because different eyes see different types of work as creative. You will simply have a chance to win for participating.

Good luck and Happy Crafting!!

Thursday, October 21, 2010

Tin Can Lid Ornament Tutorial

I found this idea at the Heart 'n' Soul Lake Geneva crop and wanted to share it!


You will need:

glue dots
adhesive
Stampin' UP Whisper White craft pad (or white paint would work as well)
scissors
Crop a dile
ribbon
stipple brush
ruler
cardstock
embellishments of your choice

tin can top that was opened with a safety can opener. I got mine from The Pampered Chef (I have an order open until tomorrow if you'd like to order one or anything else PC for that matter! Let me know and I can let you know how to order online.)
I also used my Cricut to cut the circle of cardstock out.

Flip the can lid up so that the "lip" is directed up. Measure across the can lid inside the lip. Using the Cricut, I cut a circle the next size up from my cardstock.


My circle was a bit too big, so I hand trimmed it to fit inside the can lid.

Apply adhesive to the back of the circle and adhere it onto the can lid. Mine wasn't too straight around the edges, but once you stipple the edges with paint or ink, it won't be noticeable.


I chose a plastic snowflake ornament that I had on hand. I bought these last year at a dollar store (Dollar Tree maybe?) and got several in a package for a dollar. I simply snapped the hanger circle off so it would look better and more uniform on my ornament.


Adhere snowflake/embellishment onto the cardstock using glue dots.

Dab the stipple brush on the ink pad or paint and stipple the edges of the cardstock and can lid.

After dabbing the edges of the ornament, you can heat set/dry it with an embossing gun or simply let it air dry.

Using the Crop a dile, punch a hole in the lid to run your ribbon through.


Cut approximately 8-10" of ribbon. Run ribbon through the hole and even the ends. Tie in a knot.

I also added a rhinestone to the center of my snowflake to finish the look.